Painting a Greenhouse: A Step-by-Step Guide
A well-maintained greenhouse can be both functional and aesthetically pleasing. Over time, the paint on a greenhouse may fade, chip, or peel, making it necessary to apply a fresh coat. Painting a greenhouse not only improves its appearance but also helps protect the structure from the elements. In this guide, we’ll walk you through the process of painting a greenhouse step by step.
Choose the right time and conditions before painting
Painting a greenhouse requires a dry, calm day with moderate temperatures. Avoid painting during extremely hot or cold weather, as this can affect the drying time and adhesion of the paint. Additionally, avoid painting on windy days, as dust and debris can adhere to the wet paint, compromising the finish.
Prepare the greenhouse before painting
Before painting, remove any plants and equipment from the greenhouse to prevent damage and provide ample space for painting. Cover any surfaces or fixtures that you do not want to be painted, such as benches, windows, or vents, with plastic sheeting or painter’s tape.
Clean the greenhouse structure before painting
Clean the greenhouse structure thoroughly to remove dirt, debris, mould, and algae. Use a soft brush or sponge with a mild detergent solution to clean the surfaces. Rinse with water and allow the greenhouse to dry completely before proceeding.
Scrape off any loose paint
Inspect the greenhouse for any loose, flaking, or peeling paint. Use a paint scraper or a wire brush to remove any loose paint from the surface, taking care not to damage the underlying material.
Sand the surfaces
Sanding the surfaces of the greenhouse will help the new paint adhere properly and provide a smooth finish. Use medium-grit sandpaper (around 120-grit) to sand the entire surface, focusing on rough areas and spots where old paint has been removed. Wipe down the greenhouse with a damp cloth to remove any dust and debris from sanding.
Repair any damage on the greenhouse frame
Inspect the greenhouse for any damaged or rotting wood, and repair or replace any damaged sections as needed. If you encounter small holes or cracks, you can fill them with wood filler or a suitable filler for the material of your greenhouse. Allow the filler to dry according to the manufacturer’s instructions, then sand the repaired areas smooth.
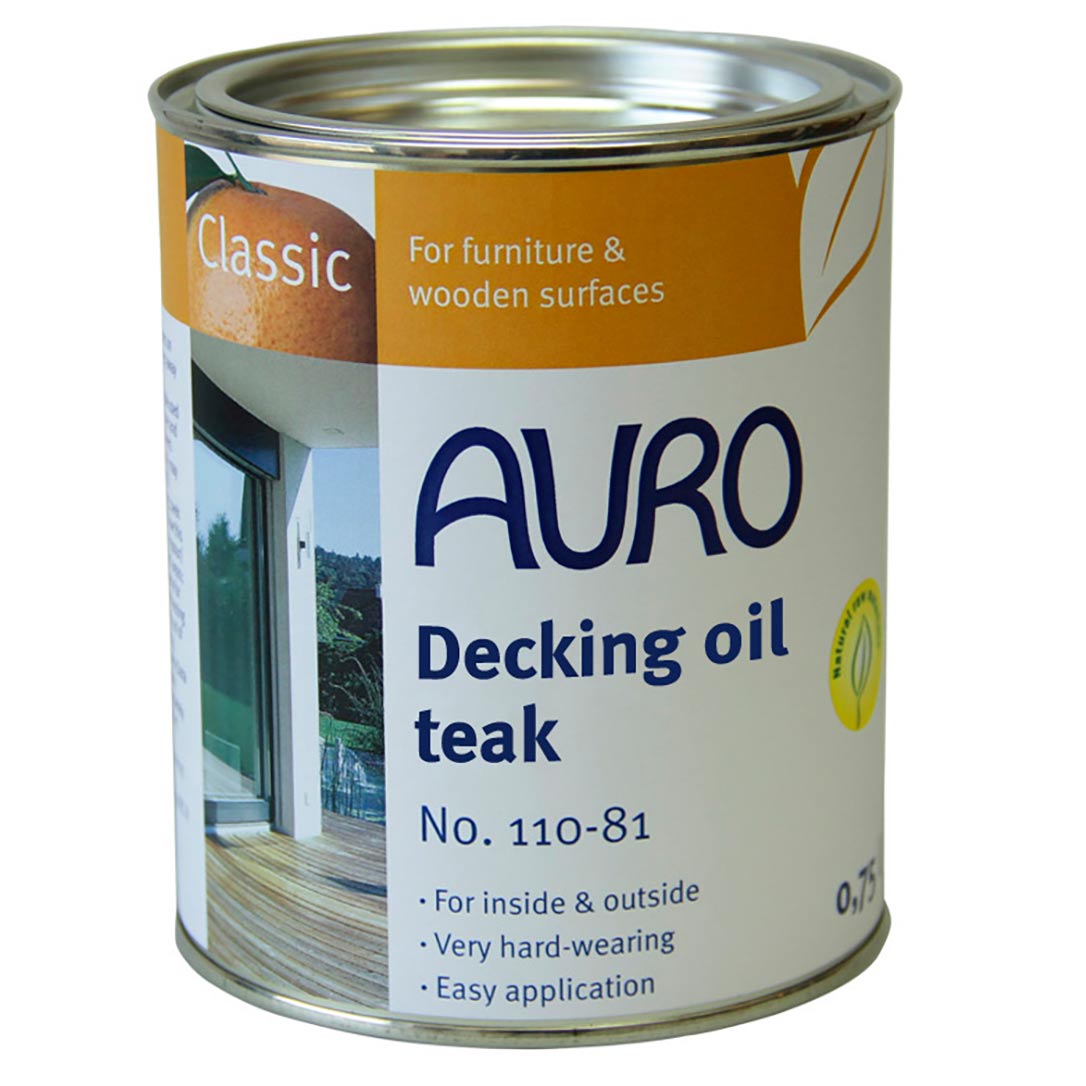
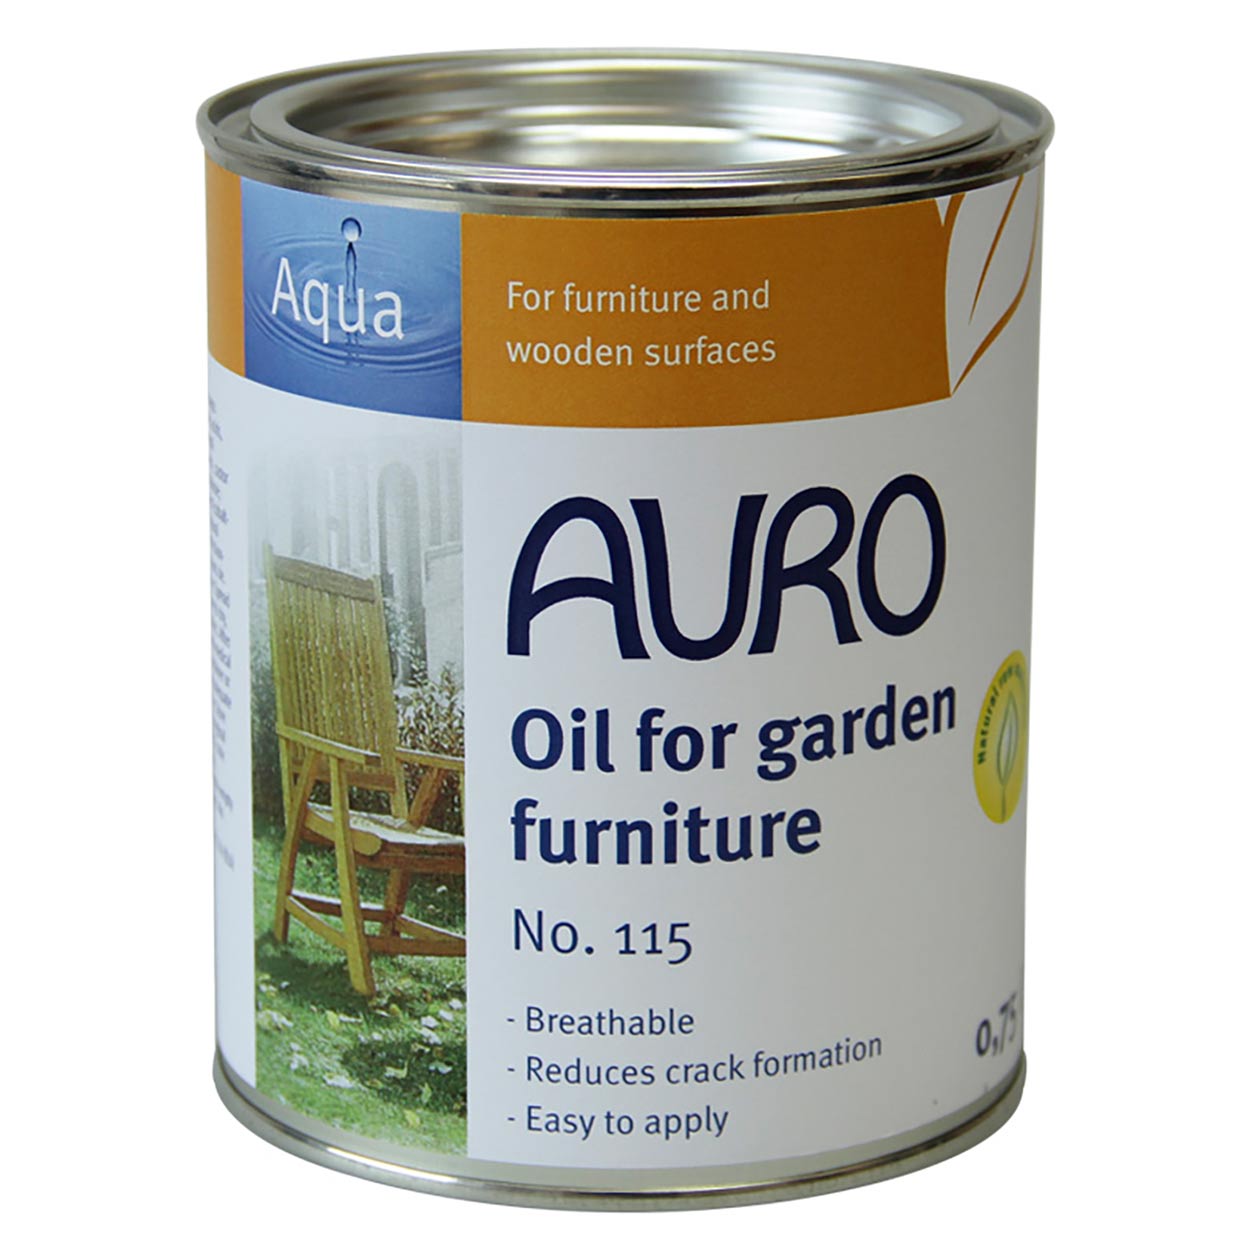
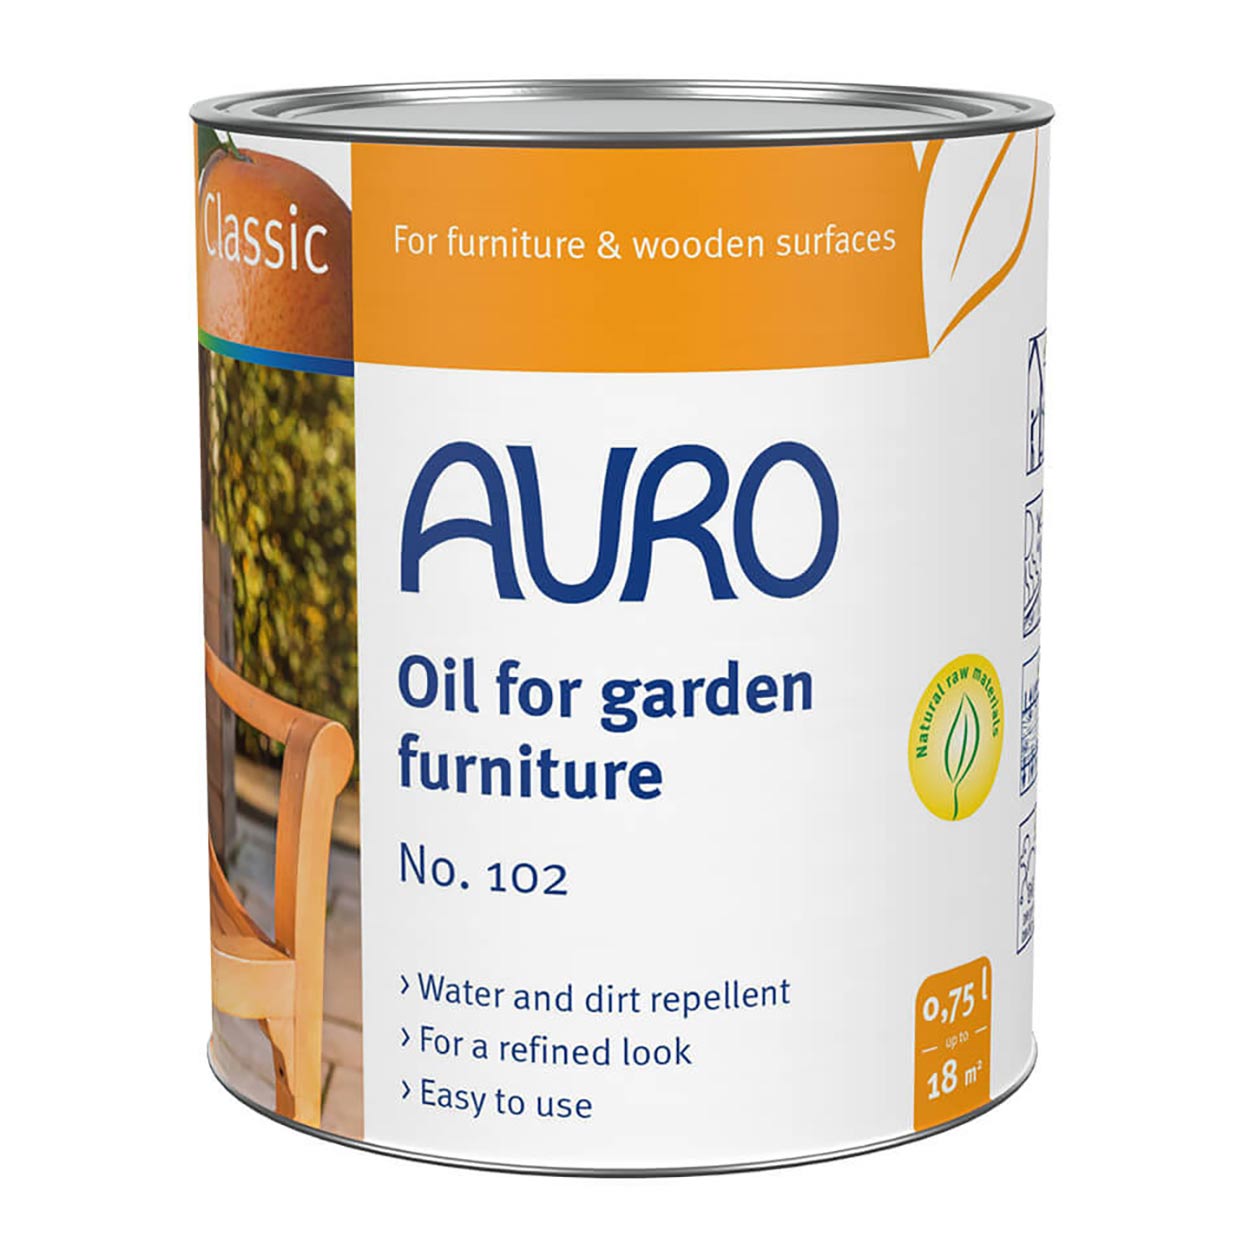
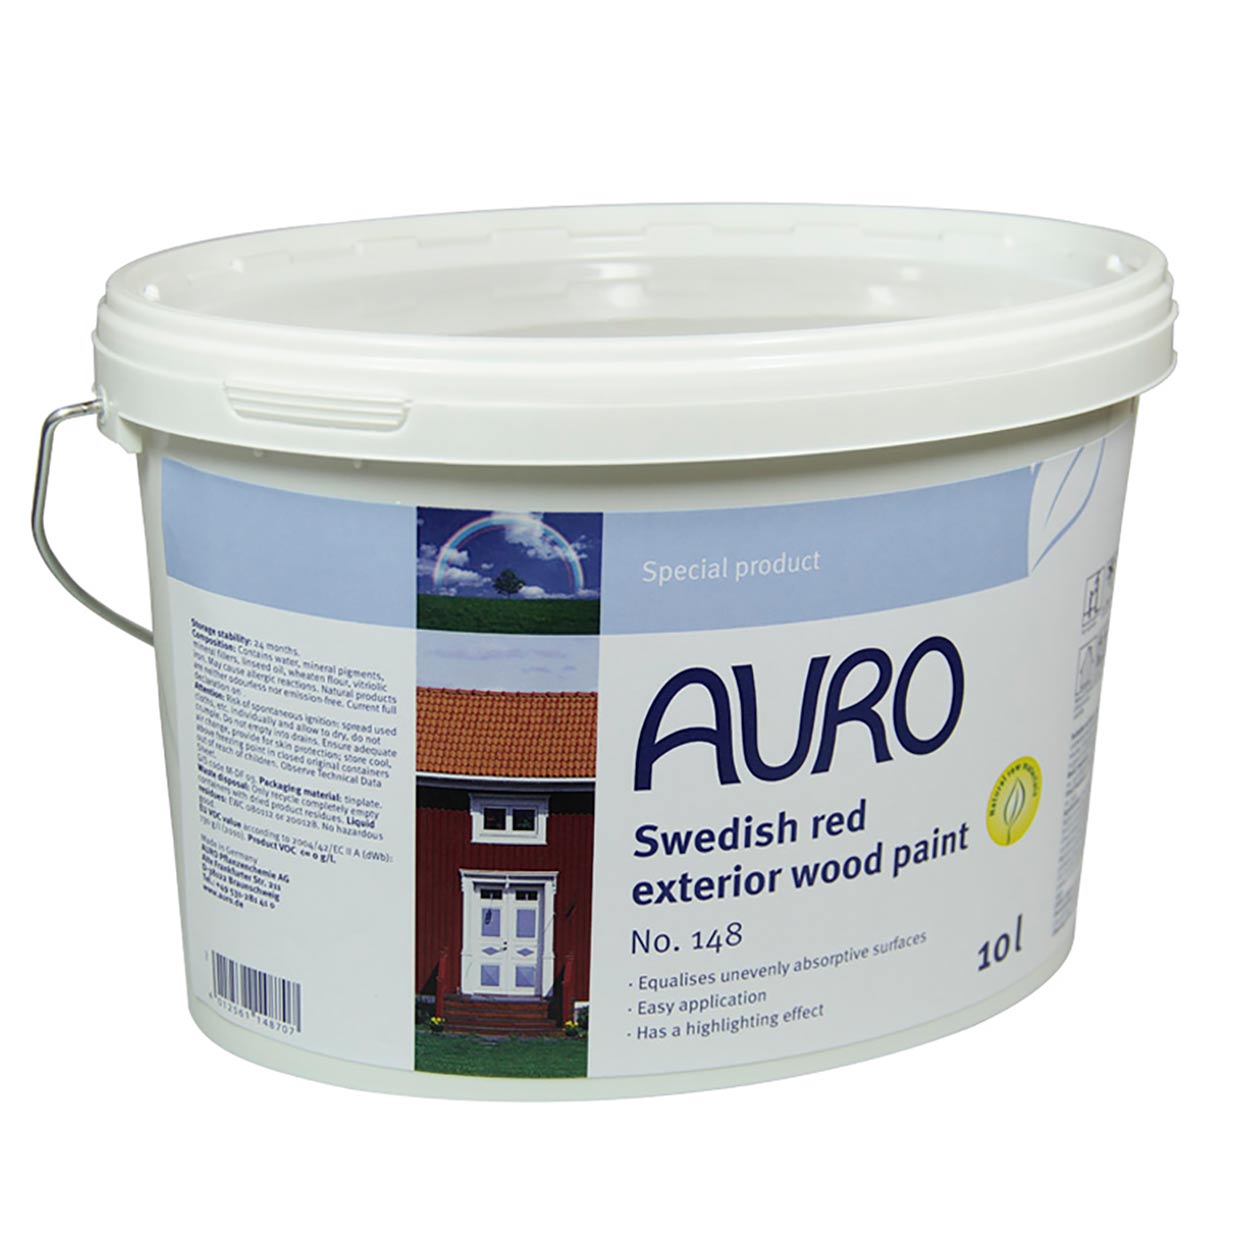
Choose the right greenhouse paint
Choose an exterior-grade paint specifically formulated for use on the material of your greenhouse (e.g., wood, metal, or plastic). Check the manufacturer’s instructions for any specific recommendations for greenhouse applications.
Apply a primer (if necessary)
If the greenhouse is made of wood or metal and the paint manufacturer recommends a primer, apply a coat of primer to the entire surface of the greenhouse. This will help ensure even coverage and proper adhesion of the paint. Allow the primer to dry according to the manufacturer’s instructions.
Apply the paint
Using a brush, roller, or paint sprayer, apply the paint to the greenhouse, working in small sections to ensure even coverage. It is often necessary to apply at least two coats of paint for optimal coverage and protection, allowing each coat to dry according to the manufacturer’s instructions before applying the next one.
Clean up and reassemble
After the final coat of paint has dried, carefully remove any plastic sheeting or painter’s tape. Replace any removed fixtures or hardware and return your plants and equipment to the greenhouse.
Conclusion
A freshly painted greenhouse not only looks great but also provides added protection against weather and UV damage. By following these steps and using the appropriate materials, you can ensure that your greenhouse remains a functional and attractive addition to your garden for years to come


Hi! I’m Chris, the founder of The Organic & Natural Paint Co, and I’m focused on the education and promotion of natural non toxic alternatives to chemical laden everyday products that we just take for granted. We have a choice, and I want to raise awareness of alternative products that don’t actually harm us!
This company is my way of pushing the awareness of better indoor air quality, something that I am personally passionate about due to my own children’s breathing medical conditions. I just couldn’t paint with big brand standard petrochemical paint any longer and wanted another solution.
Read more: About me
Twitter: NaturalPaintCo
Instagram: thenaturalpaintco